- A blended environment where one can develop for all Android devices
- Apply Changes to push code and resource changes to the running app without restarting the app
- A flexible Gradle-based build system
- A fast and feature-rich emulator
- GitHub and Code template integration to assist you to develop common app features and import sample code
- Extensive testing tools and frameworks
- C++ and NDK support
- Built-in support for Google Cloud Platform, making it easy to integrate Google Cloud Messaging and App Engine, and many more.
- Microsoft Windows 7/8/10 (32-bit or 64-bit)
- 4 GB RAM minimum, 8 GB RAM recommended (plus 1 GB for the Android Emulator)
- 2 GB of available disk space minimum, 4 GB recommended (500 MB for IDE plus 1.5 GB for Android SDK and emulator system image)
- 1280 x 800 minimum screen resolution


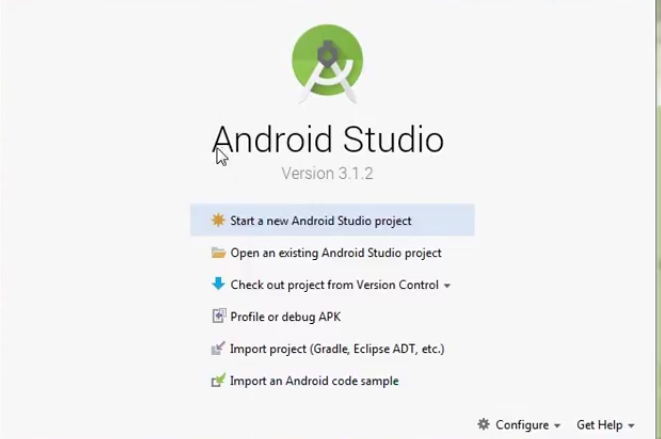
Step 7: After it has found the SDK components, it will redirect to the Welcome dialog box.


To create a new AVD:
- Open the AVD Manager by clicking Tools > AVD Manager.
- Click Create Virtual Device, at the bottom of the AVD Manager dialog.
The Select Hardware page appears.
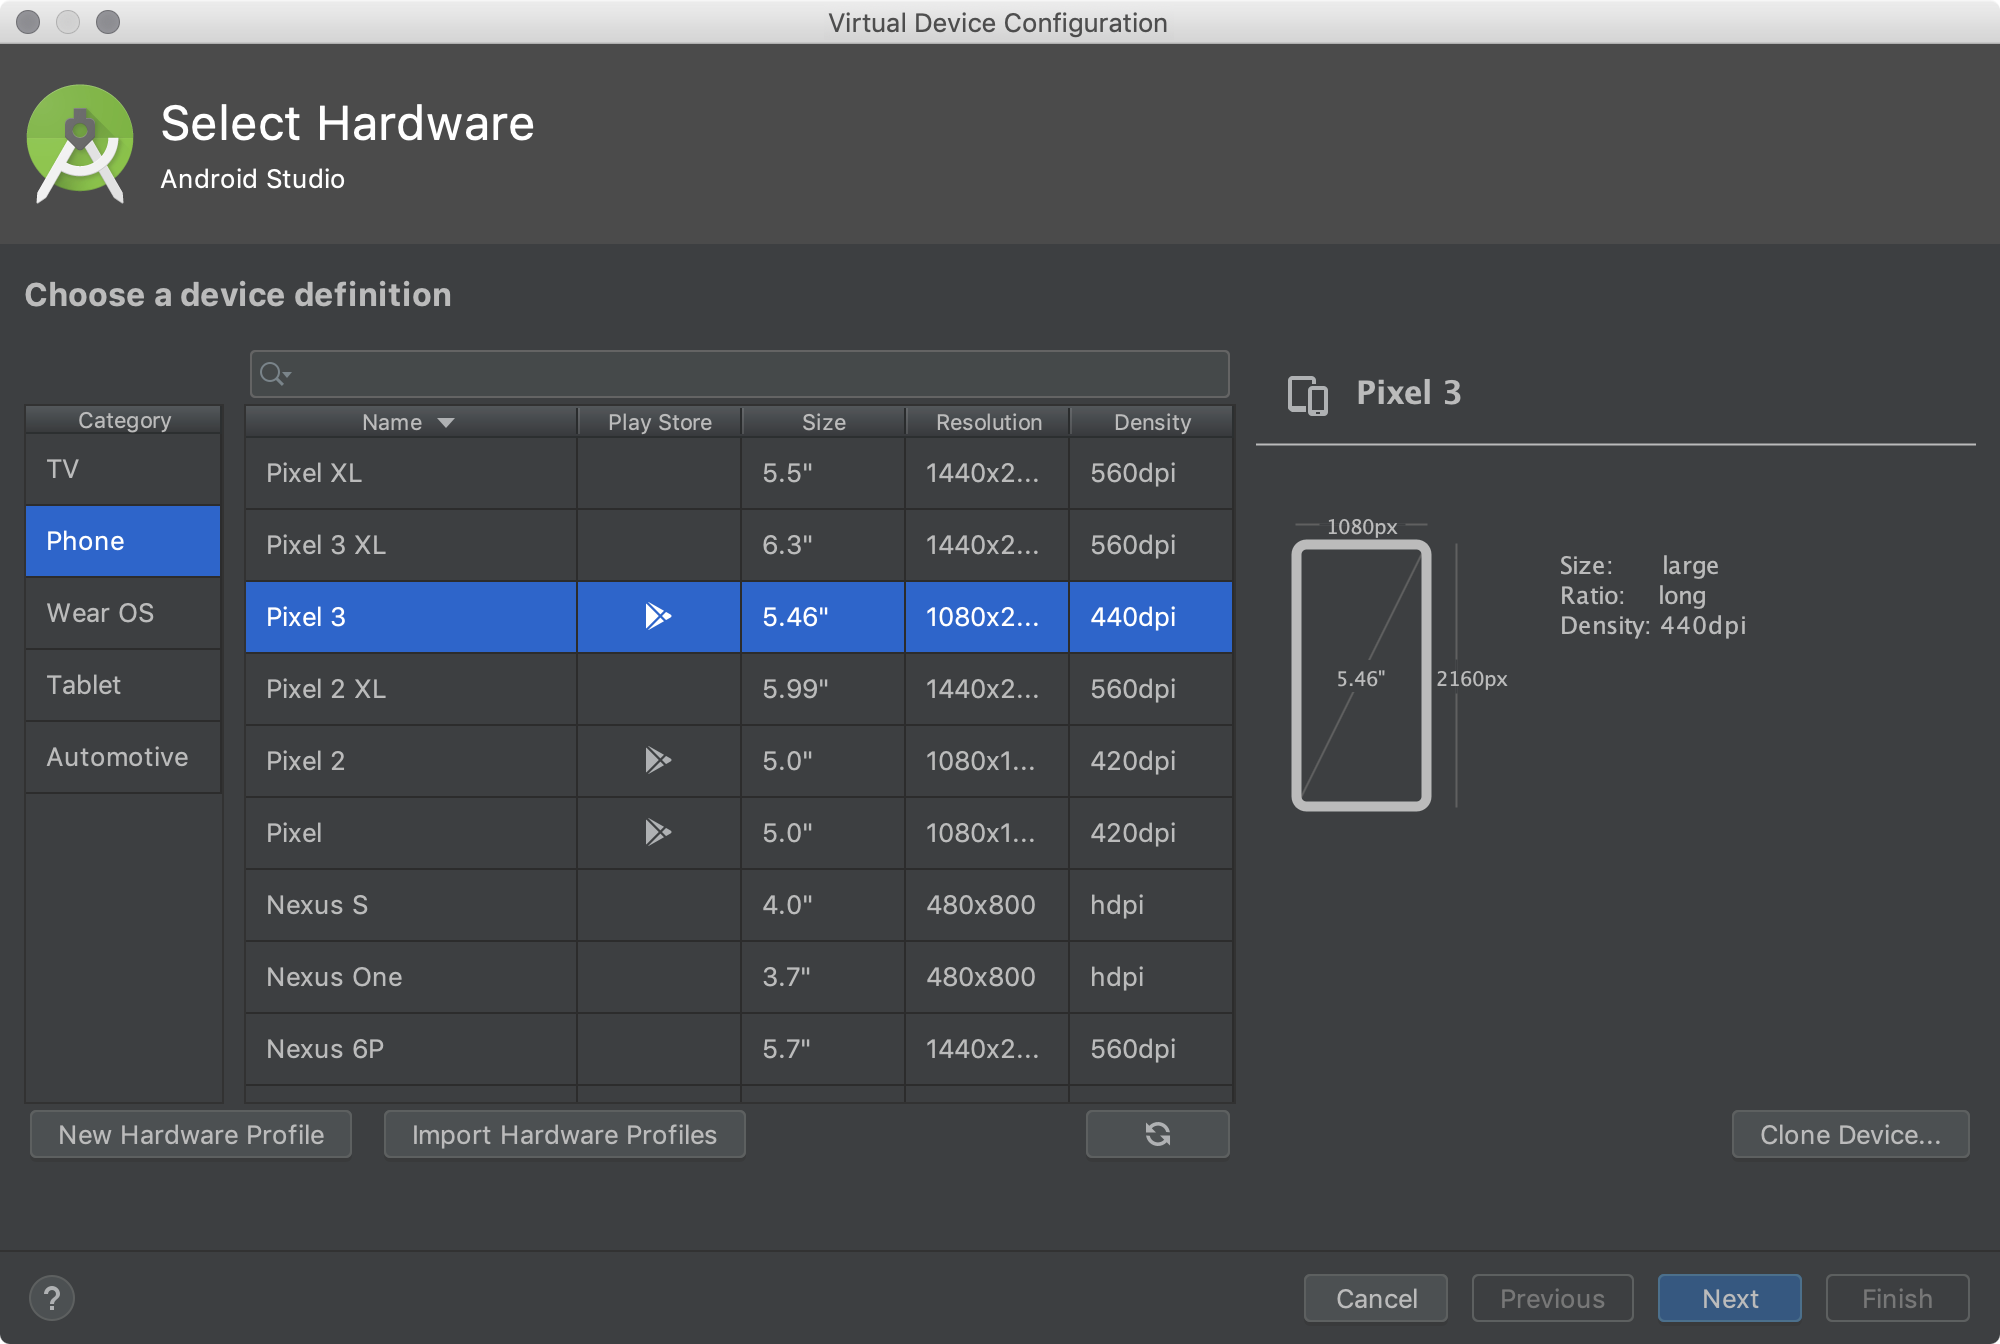
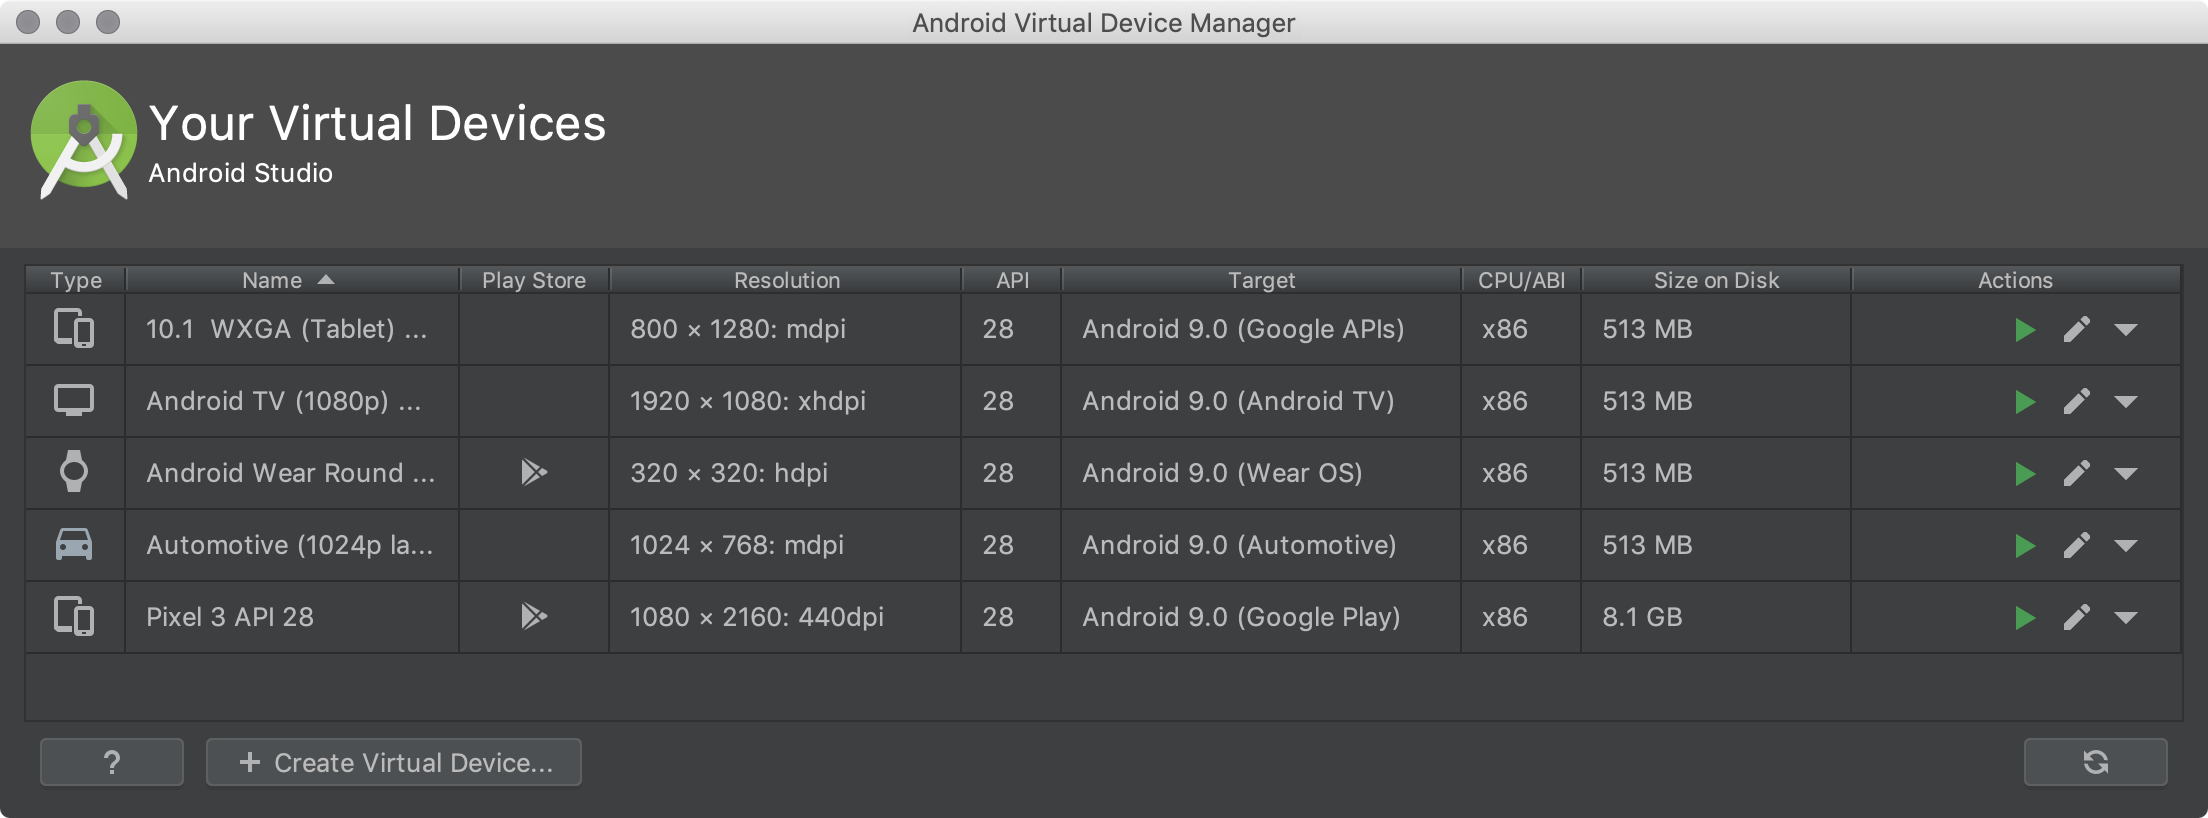
Notice that only some hardware profiles are indicated to include Play Store. This indicates that these profiles are fully CTS compliant and may use system images that include the Play Store app.
- Select a hardware profile, and then click Next.
- Select the system image for a particular API level, and then click Next.
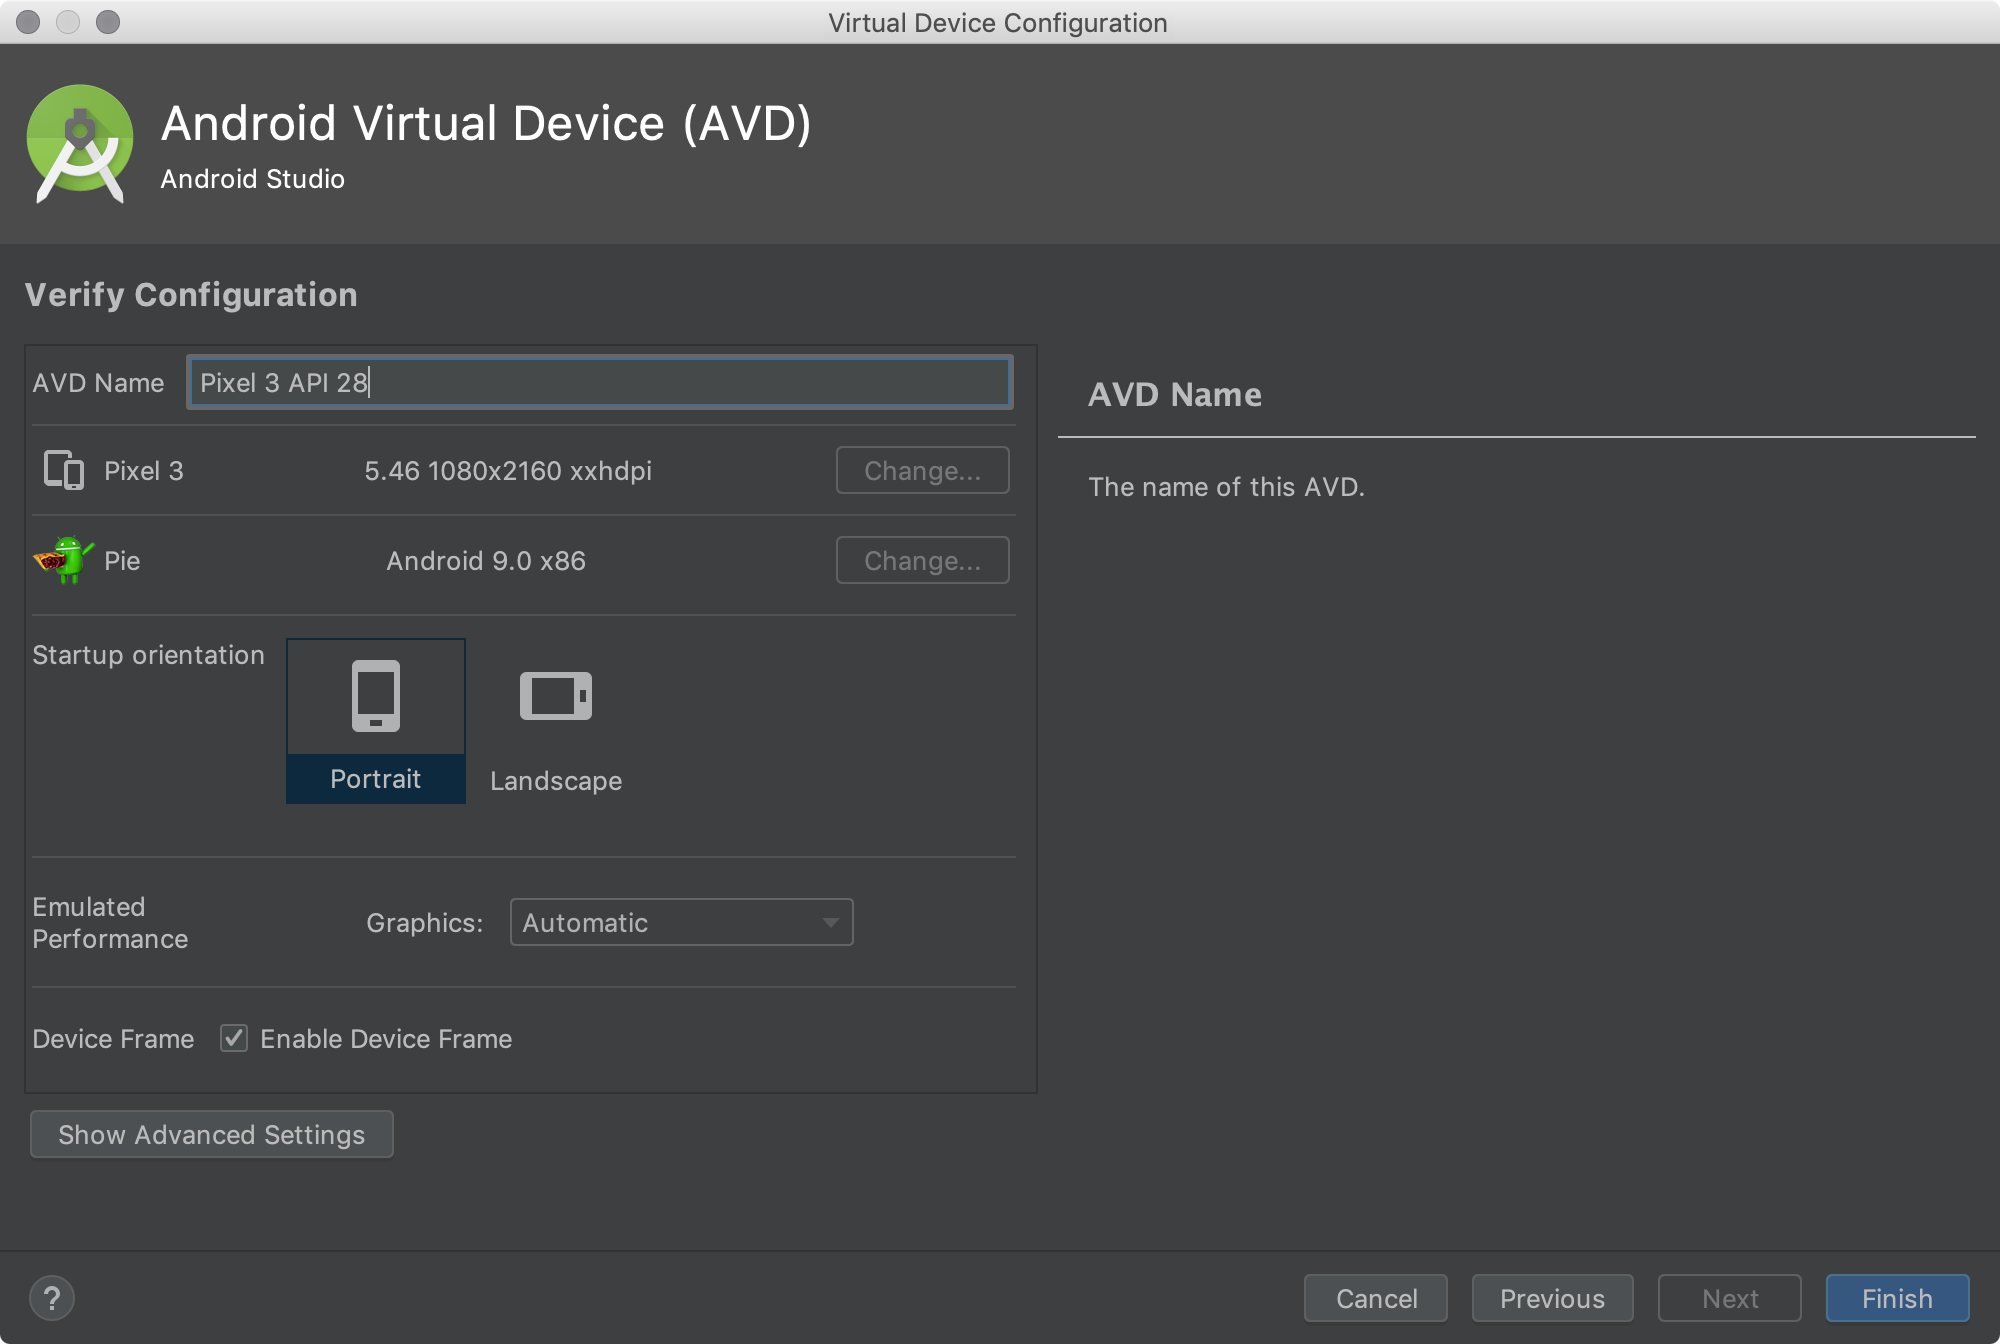
- Change AVD properties as needed, and then click Finish.
Click Show Advanced Settings to show more settings, such as the skin.
If you don't see the hardware profile you want, you can create or import a hardware profile.
The System Image page appears.
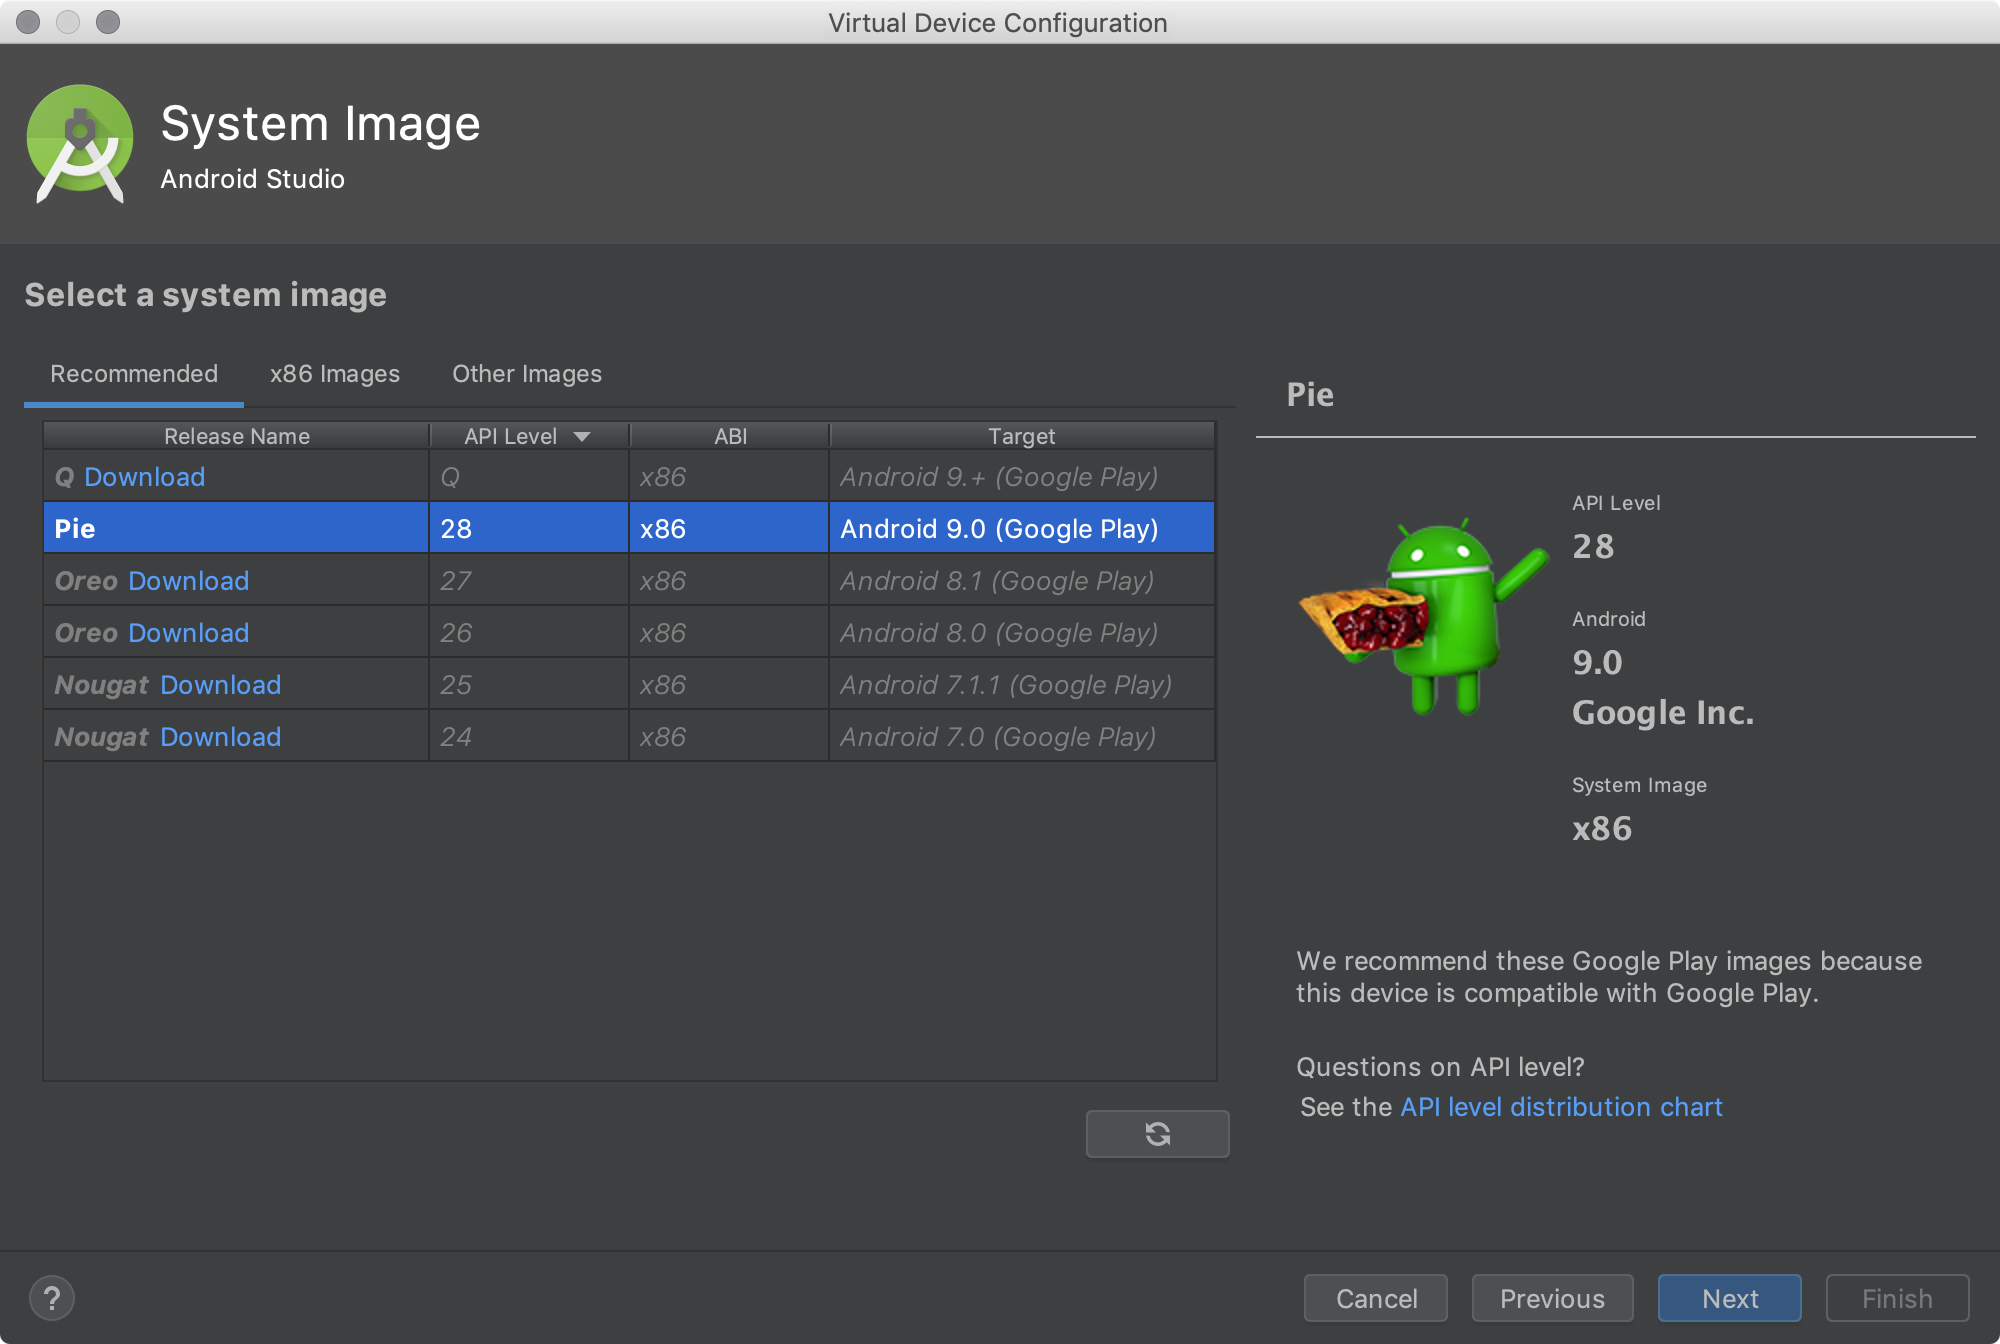
The Recommended tab lists recommended system images. The other tabs include a more complete list. The right pane describes the selected system image. x86 images run the fastest in the emulator.
If you see Download next to the system image, you need to click it to download the system image. You must be connected to the internet to download it.
The API level of the target device is important, because your app won't be able to run on a system image with an API level that's less than that required by your app, as specified in the minSdkVersion attribute of the app manifest file. For more information about the relationship between system API level and minSdkVersion, see Versioning Your Apps.
If your app declares a <uses-library> element in the manifest file, the app requires a system image in which that external library is present. If you want to run your app on an emulator, create an AVD that includes the required library. To do so, you might need to use an add-on component for the AVD platform; for example, the Google APIs add-on contains the Google Maps library.
The Verify Configuration page appears.
The new AVD appears in the Your Virtual Devices page or the Select Deployment Target dialog.
To create an AVD starting with a copy:
- From the Your Virtual Devices page of the AVD Manager, right-click an AVD and select Duplicate.
- Click Change or Previous if you need to make changes on the System Image and Select Hardware pages.
- Make your changes, and then click Finish.
Or click Menu ![]() and select Duplicate.
and select Duplicate.
The Verify Configuration page appears.
The AVD appears in the Your Virtual Devices page.
0 Comments
Post a Comment